
Have you been wanting to grow your own veggies, herbs and flowers but have limited space and sun? Try container gardening. It is infinitely more easy than plating in the ground and so rewarding.
I first traveled to France in 2003 to attend my best friend Melanie’s wedding. Among the hundreds of wonderful things I discovered there was container gardening. Since then, I have been trying to reproduce the feeling of beauty and charm that I felt walking in small villages and in cities with everyone (it seemed) growing flowers and herbs in terracotta pots. It is usually in early May after I get the Spring plantings done in the big garden that the containers call to me. So fun, so beautiful, a happy reminder that Winter does not last all year long! That’s now! Here’s how:
1.Decide on a location for your container garden. Choose a space with at least 6 hours of sunlight a day, with easy access so that you can water and care for your plants with ease.
2. Decide what plants you would like to grow. This will help you decide what size containers you need. You can purchase seedlings from your local farmer, buy seeds and grow the plants yourself or a combination of the two.
3. Choose a Container:
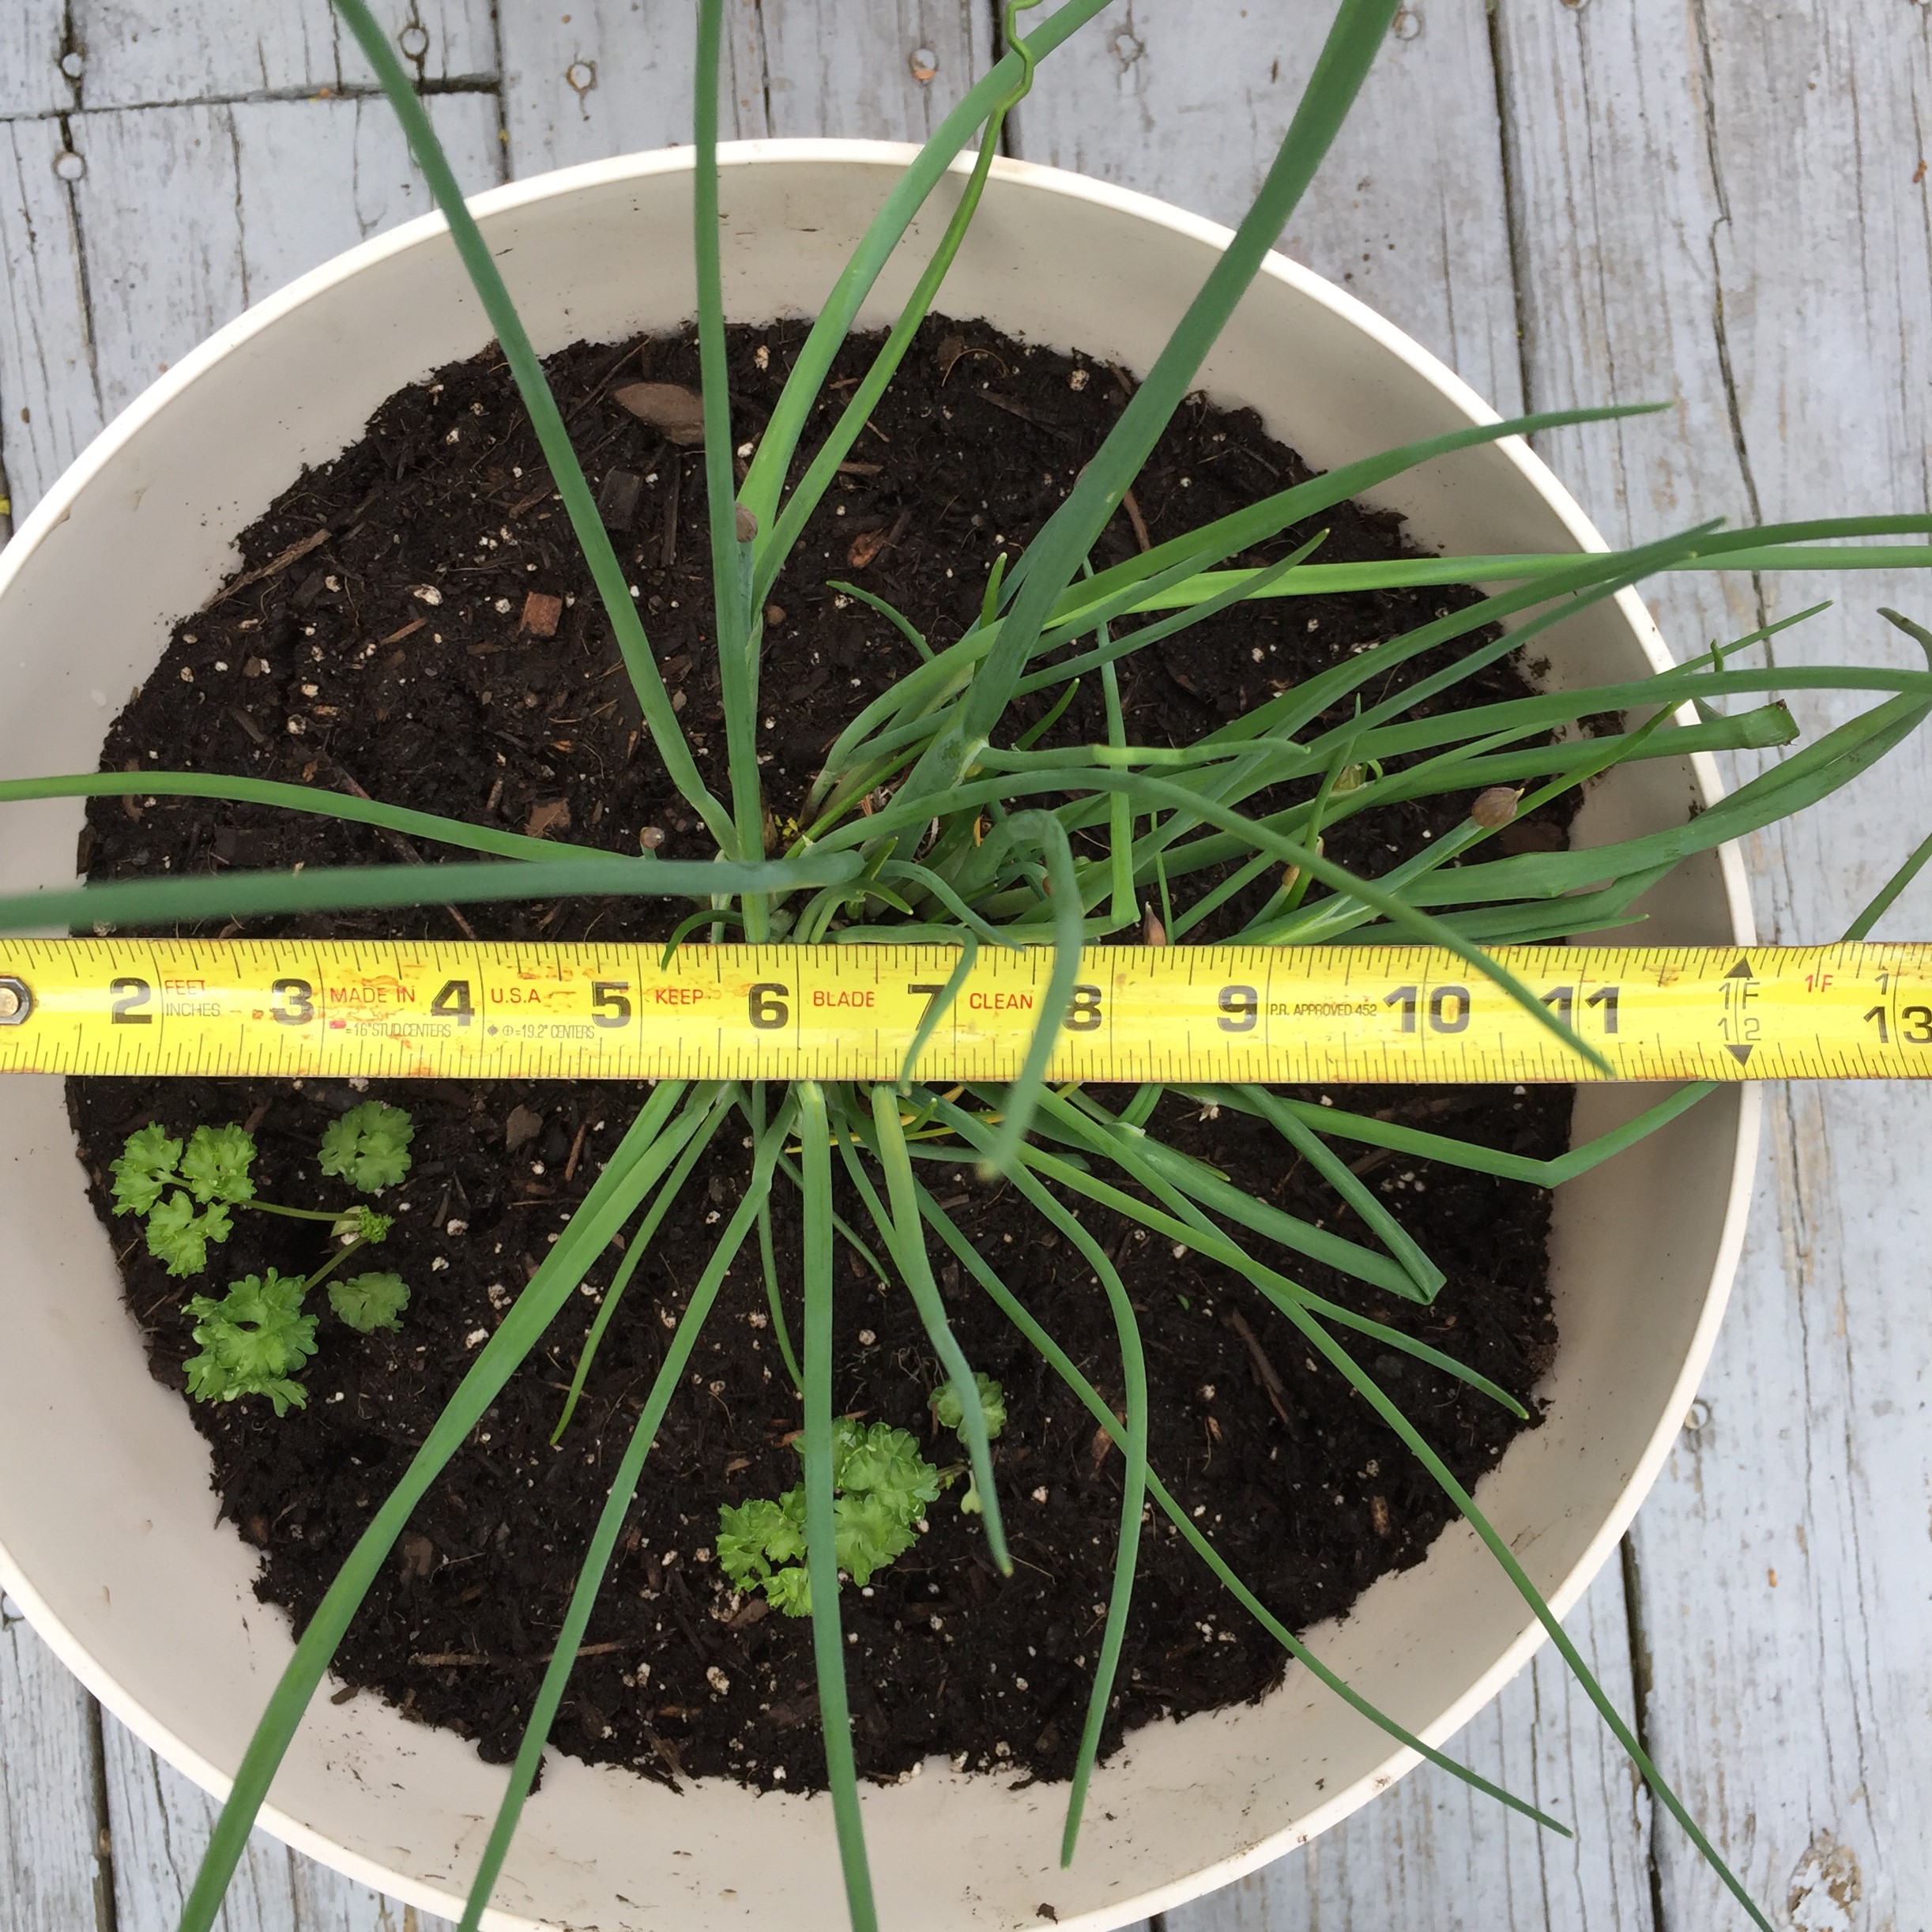
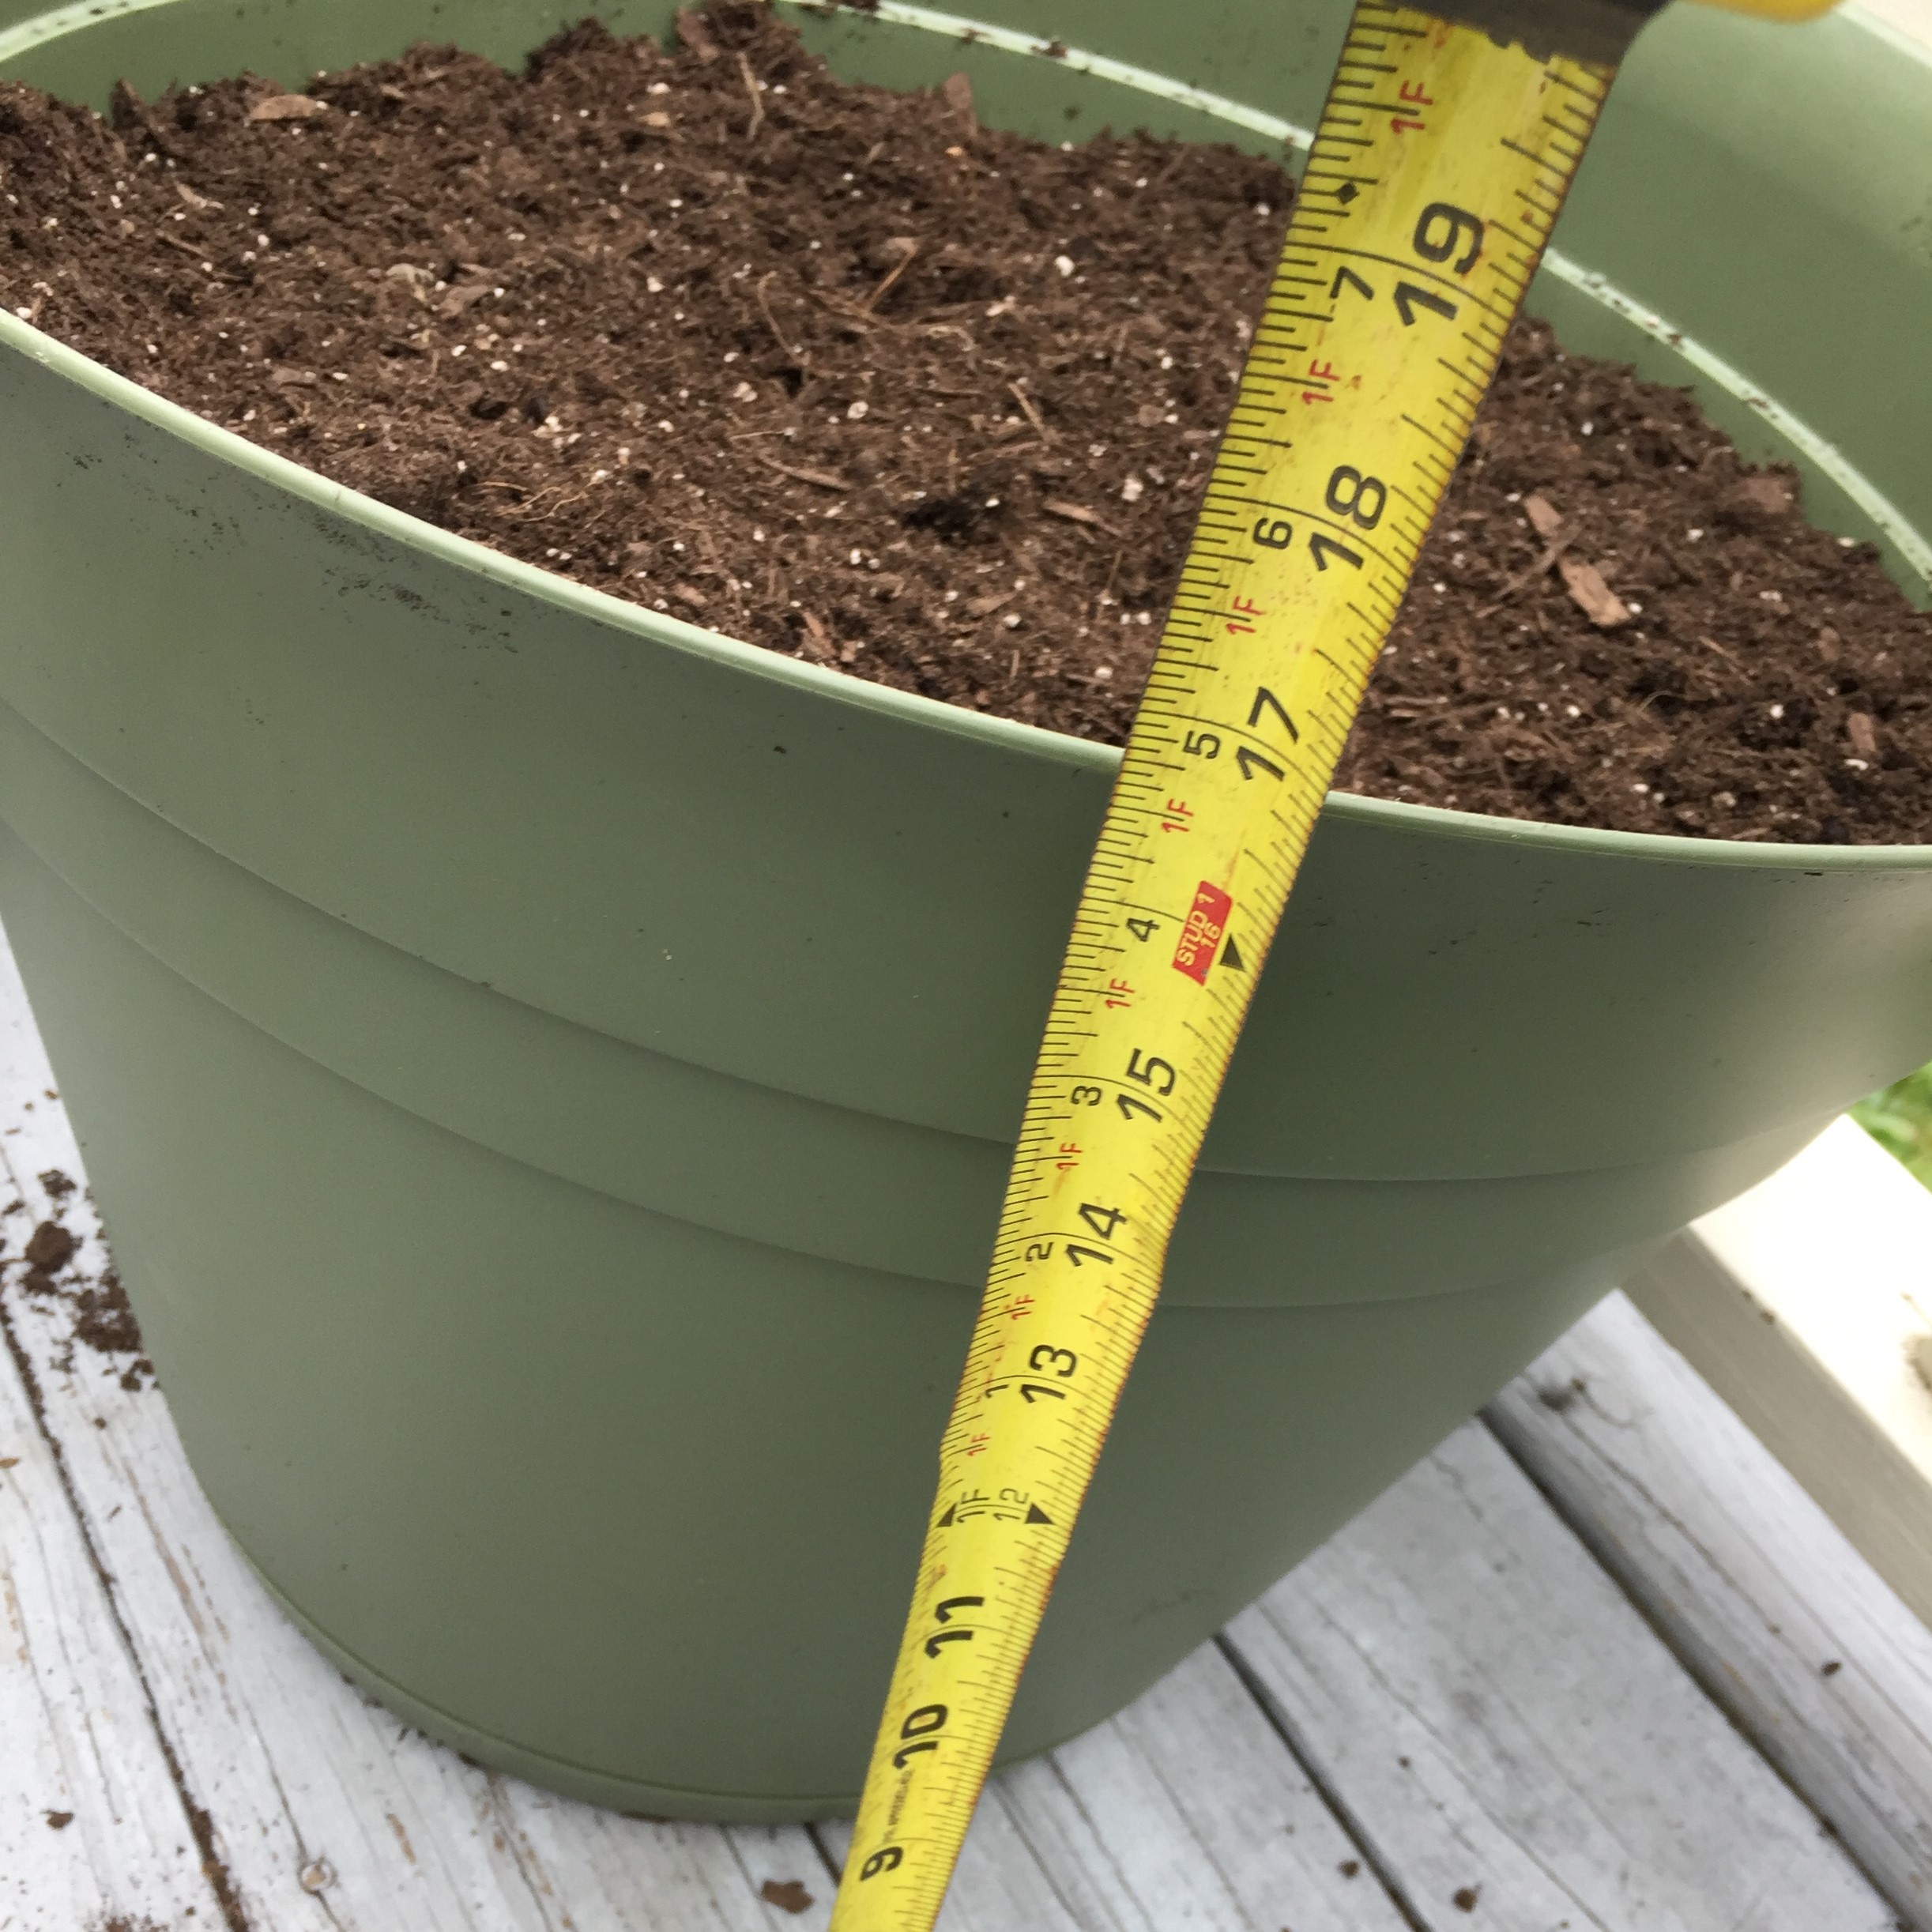
A. Size: In general, the smaller the container, the faster it will dry out and require more more frequent watering. Containers for spinach and lettuce need a depth of at least 6 inches and should be at least 8 inches in diameter. In order to grow tomatoes, you will need a pot that is at least 18” in diameter and 18” deep. If you choose a larger pot for your tomato plant, the plant will have a larger root system and produce more tomatoes.
Most containers will not have the exact dimensions outlined below, so simply estimate which size approximates your container choice. For the sake of comparing container sizes below, I have divided containers into 3 categories:
Large pot is considered to be at least 18” in diameter and 16” in height
Medium pot = 14” in diameter, 12” high
Small pot = 10” diameter, 8” high
Below is a general guide for container size and pot type: Remember this is only a guide and you will likely find that your container garden is quite different. Enjoy experimenting!
| Minimum Pot Size | Plants |
Small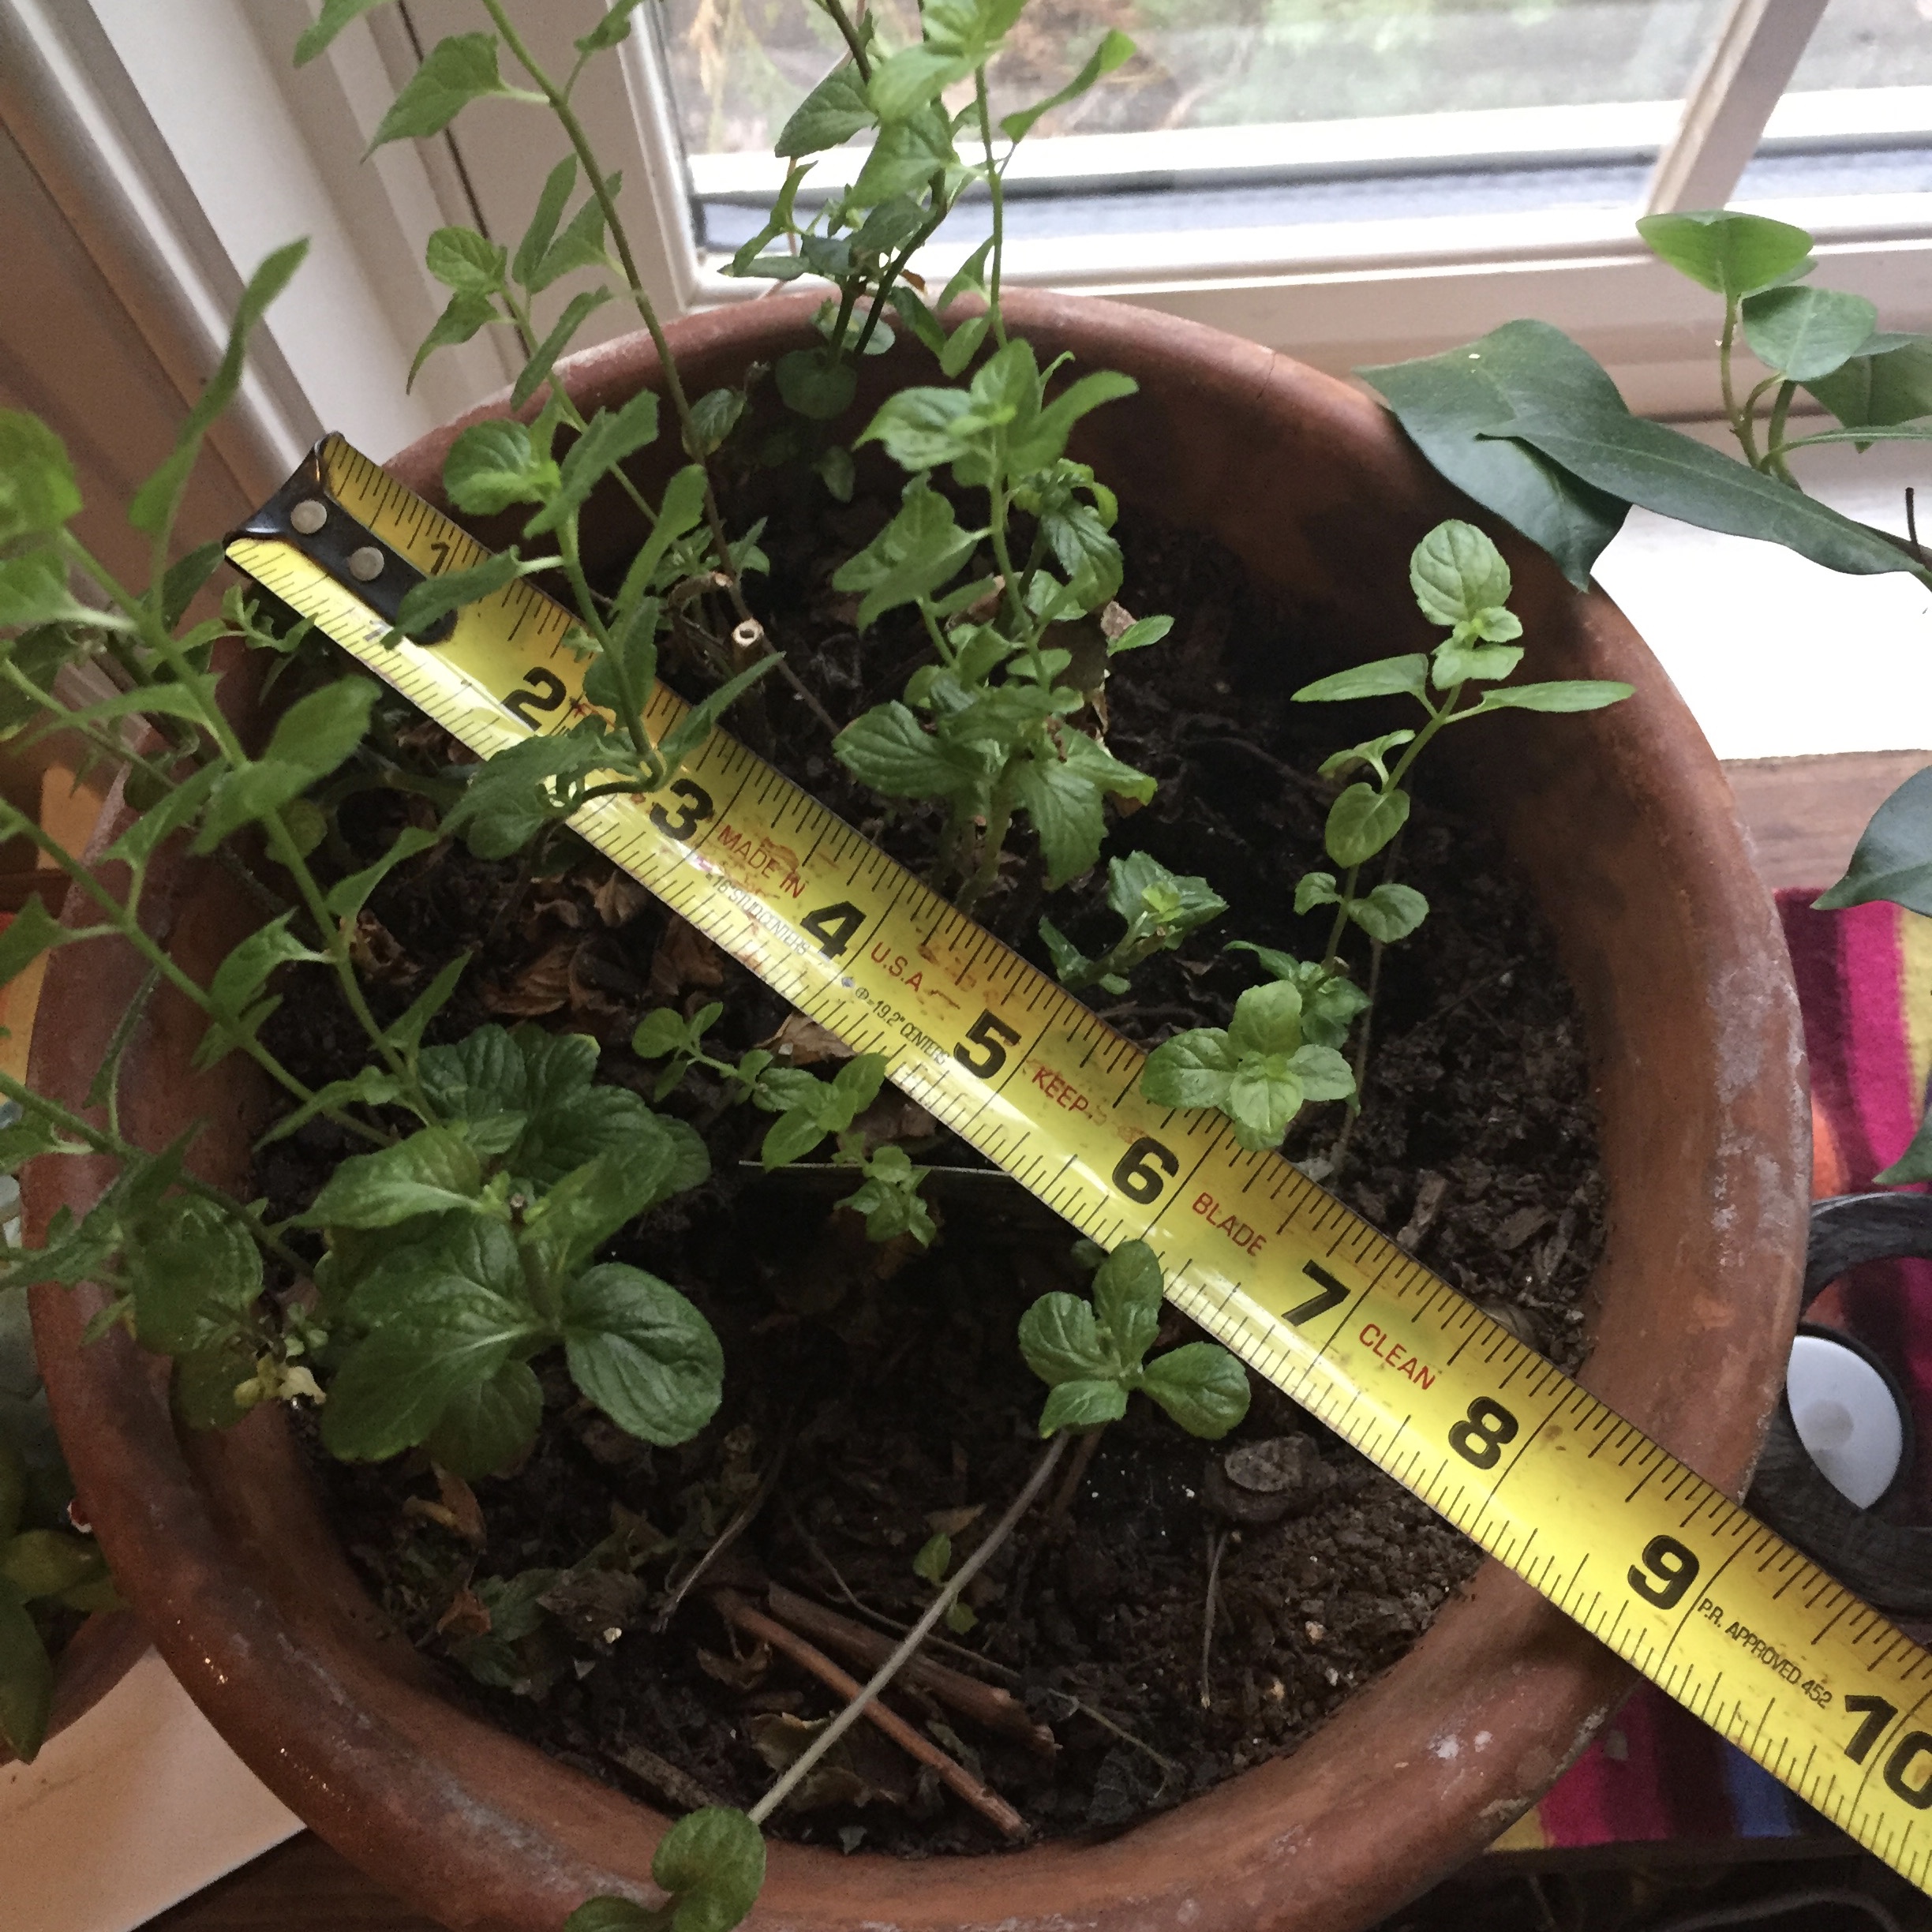 |
|
 Medium |
|
 Large |
|
B. Drainage: Make sure that you can drill holes into the bottom of your container for proper drainage.
C. Type: Choose the largest containers Containers of all shapes and sizes may be used for container gardening. It is likely that the easiest way for you to get started will be to use the more common plastic or clay pots found at your local hardware store or gardening center. However, you can really use just about anything to put your plants in- old laundry baskets (they already have great holes for drainage!), cement planters, small wooden boxes, plastic storage bins, etc. Do not use old tires or railroad ties.
How to Reuse Old Pots: Recycling pots that have been used in years past is an excellent idea.
- First, empty pots of old potting soil and add to your compost pile.
- Scrub the pot with soap and water to clean any visible reminders from last years plantings.
- Disinfect with vinegar. You can either submerge your pots into a solution of 3 parts water and 1 part white vinegar or spray vinegar directly onto pots and let them air dry.
- Spray the pot with 3% Hydrogen Peroxide (available at your supermarket/drug store) to effectively kill the majority of pathogens. Air dry.
4. Soil: Use organic potting soil and not garden soil. Potting soil has vermiculite and peat mixed into it to keep it fluffy and loose for proper container growth. I recommend using organic potting soil.
5. Calculate the amount of soil you will need to fit your containers. If you purchase a pot that is approximately 12 inches in diameter and 12 inches high, and it tapers from the top to bottom, than you will use less that a square foot of potting soil to fill it.
6. Get ready to plant: Gather Materials:
-
- Containers
- Drill (Optional- only needed if there are not enough drainage holes at bottom of pot)
- Potting Soil
- Small rocks (optional)
- Small fence/trellis for cucumbers and peas
- Long poles for pole beans
- Tomato Cage for tomato
- Hose or watering can
- Seeds
7. Bring materials to your chosen garden location- the pots get quite heavy once they are filled and it is much easier to fill them at their final destination than to move them afterwards.
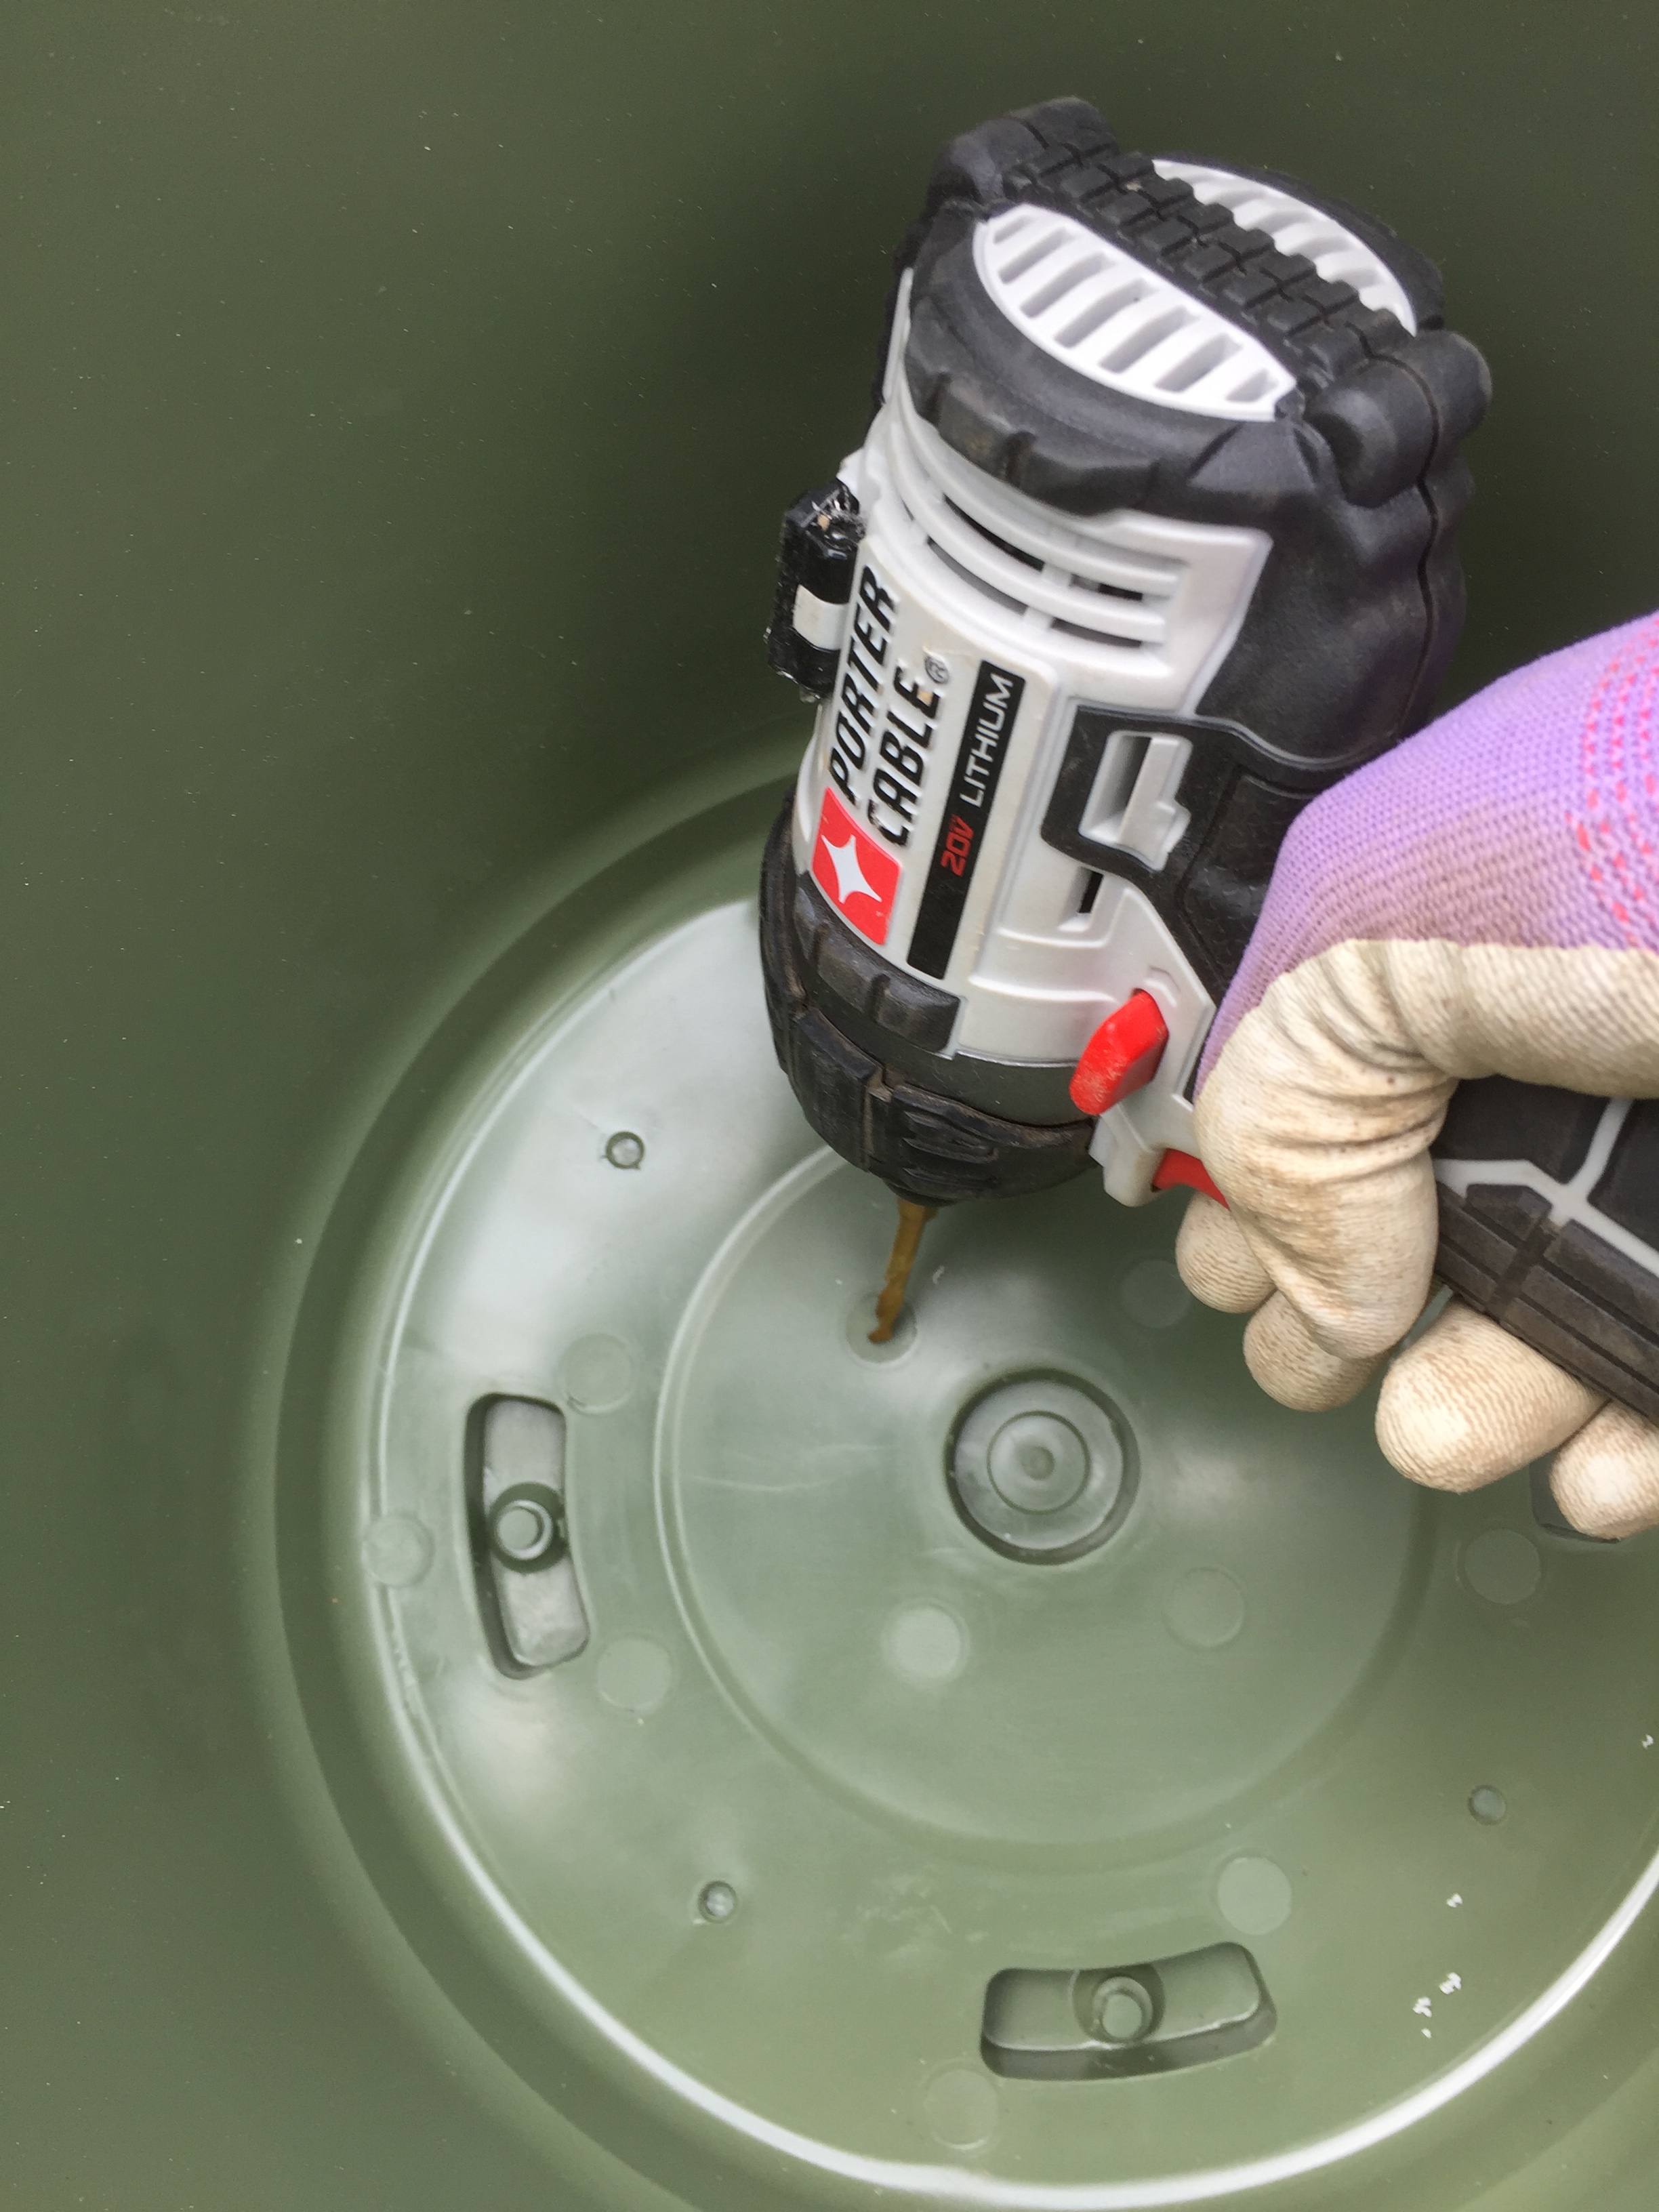
8. Drill holes in the bottom of pot to allow for drainage. Do not plant in a pot without drainage holes, your plant roots will rot and your plant will die, (and you will cry).
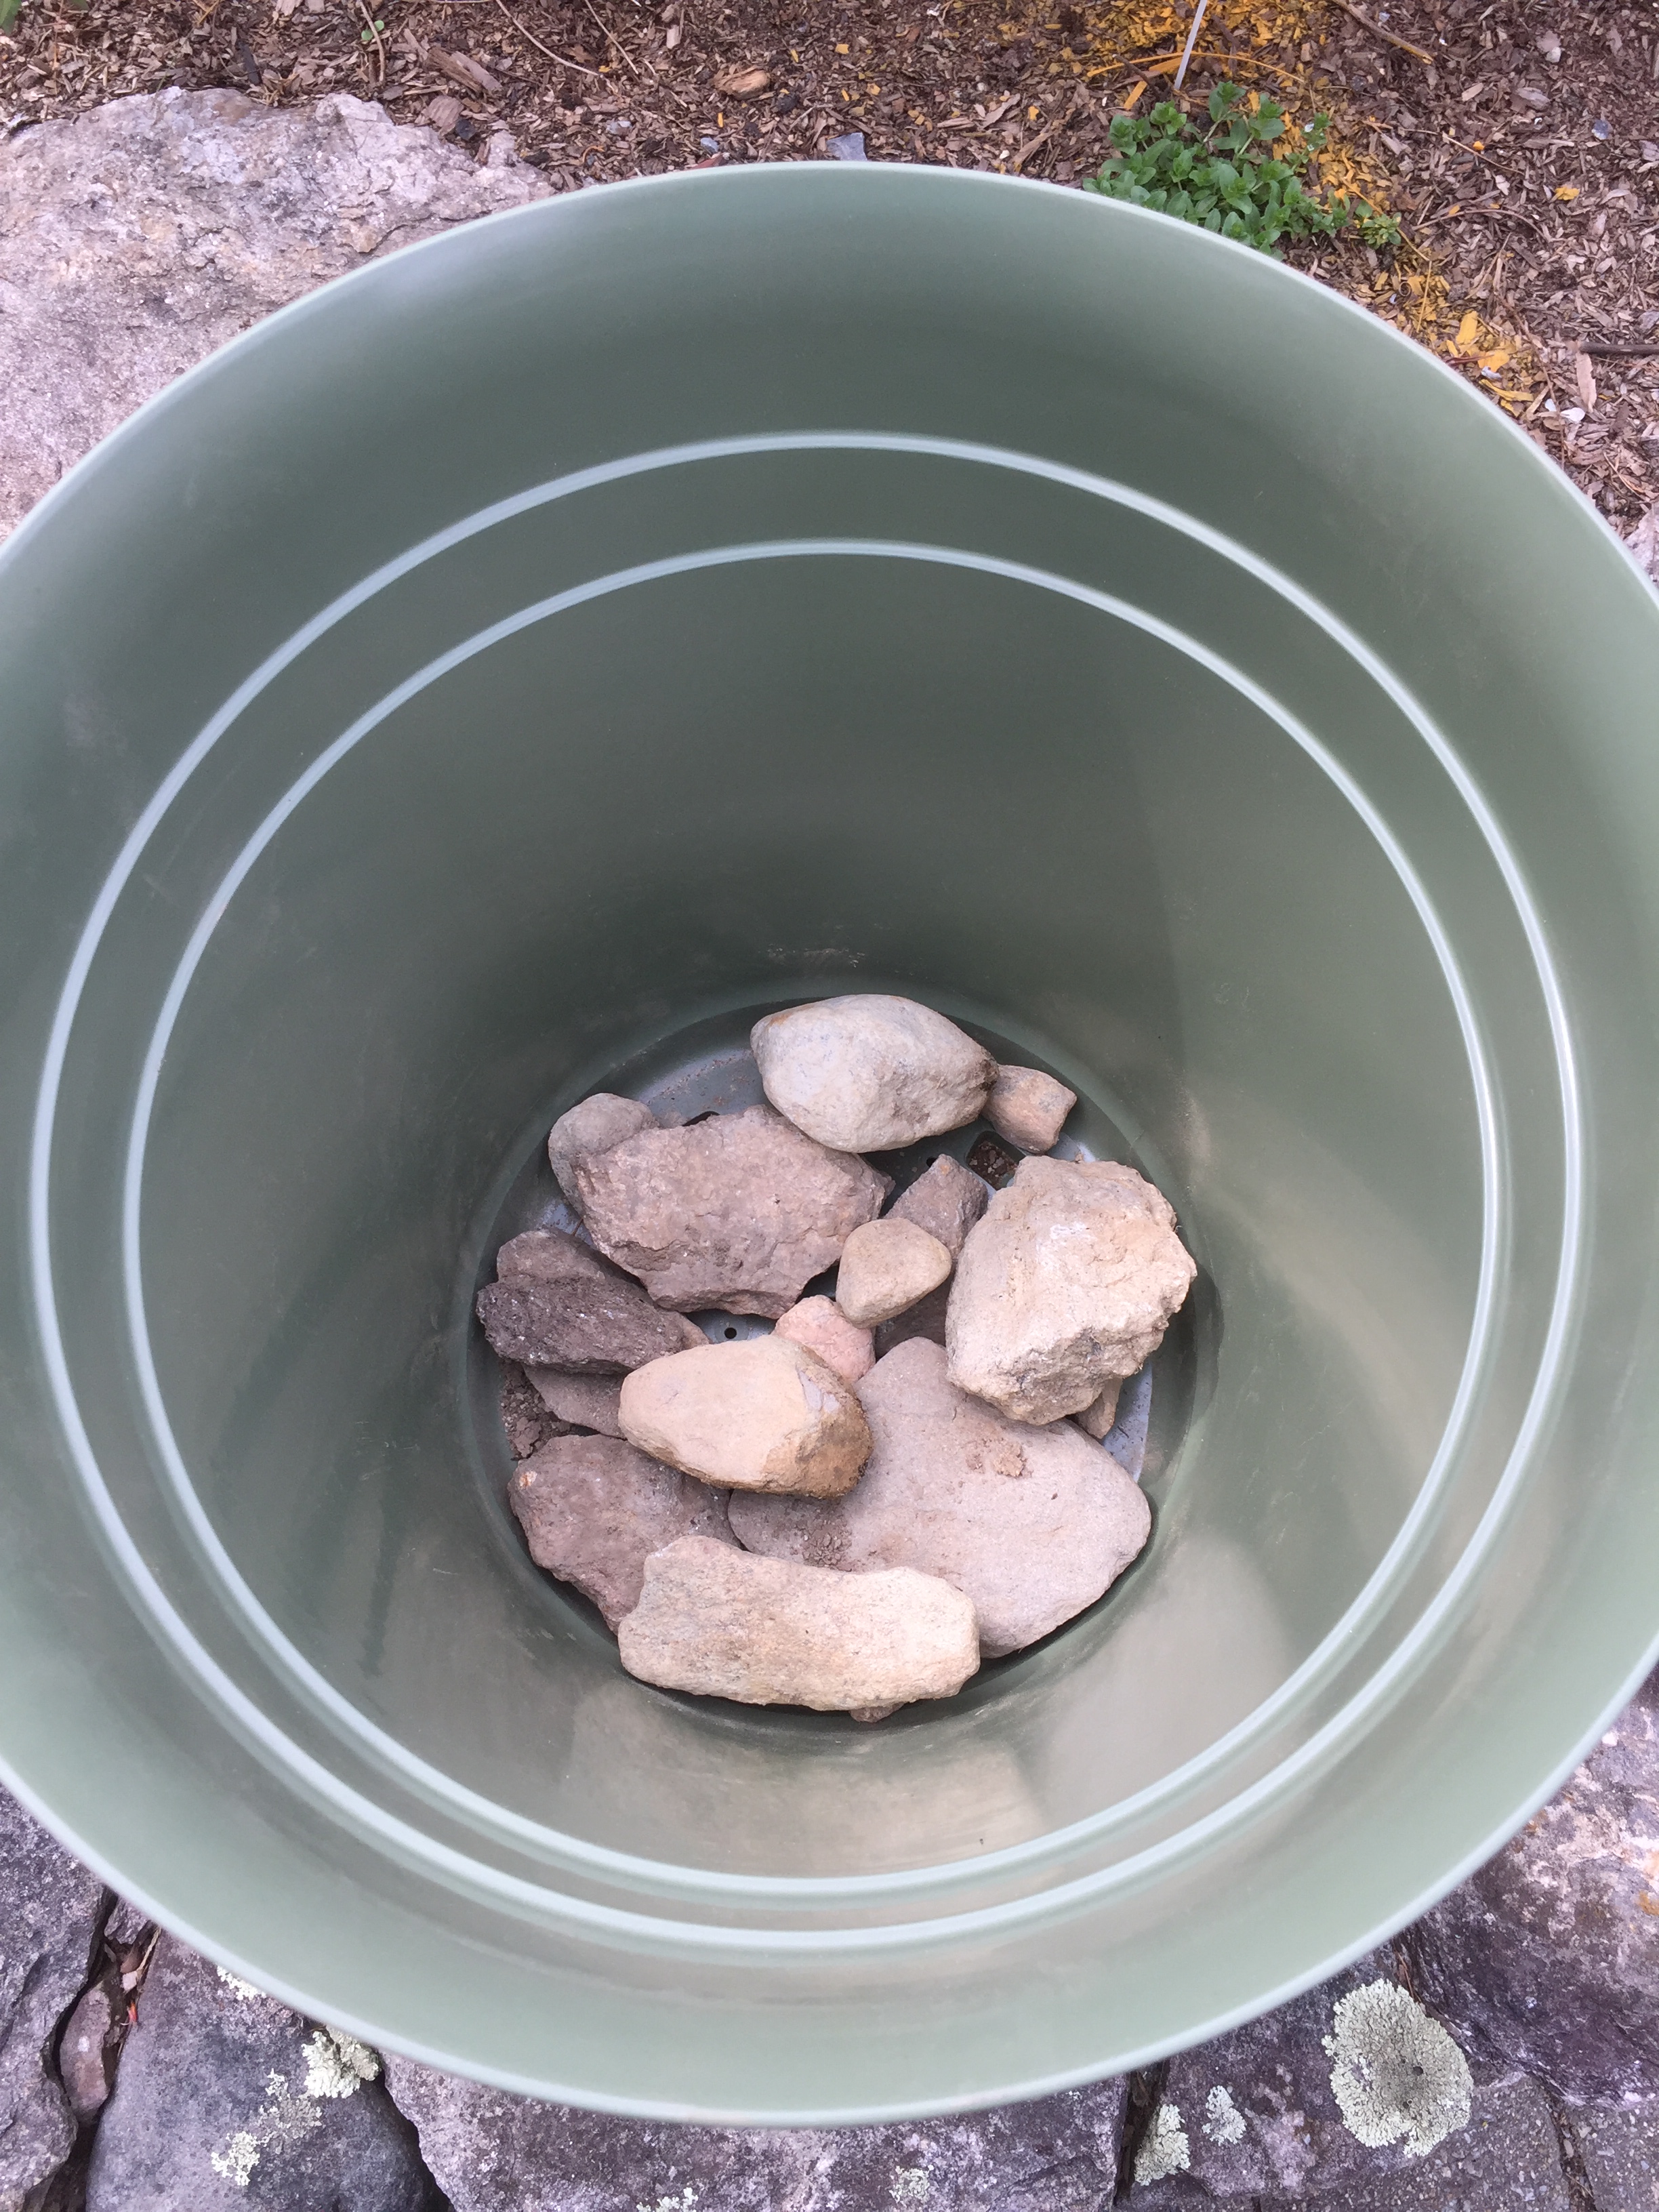
9. Optional step- Place 1-2 layers of small-medium sized rocks (2-4 inches) along bottom of pot to increase drainage.


10. Fill your pot to 1-2 inches below top of pot with potting soil. Break up the dense chunks of soil with hand and loosen as much as possible.
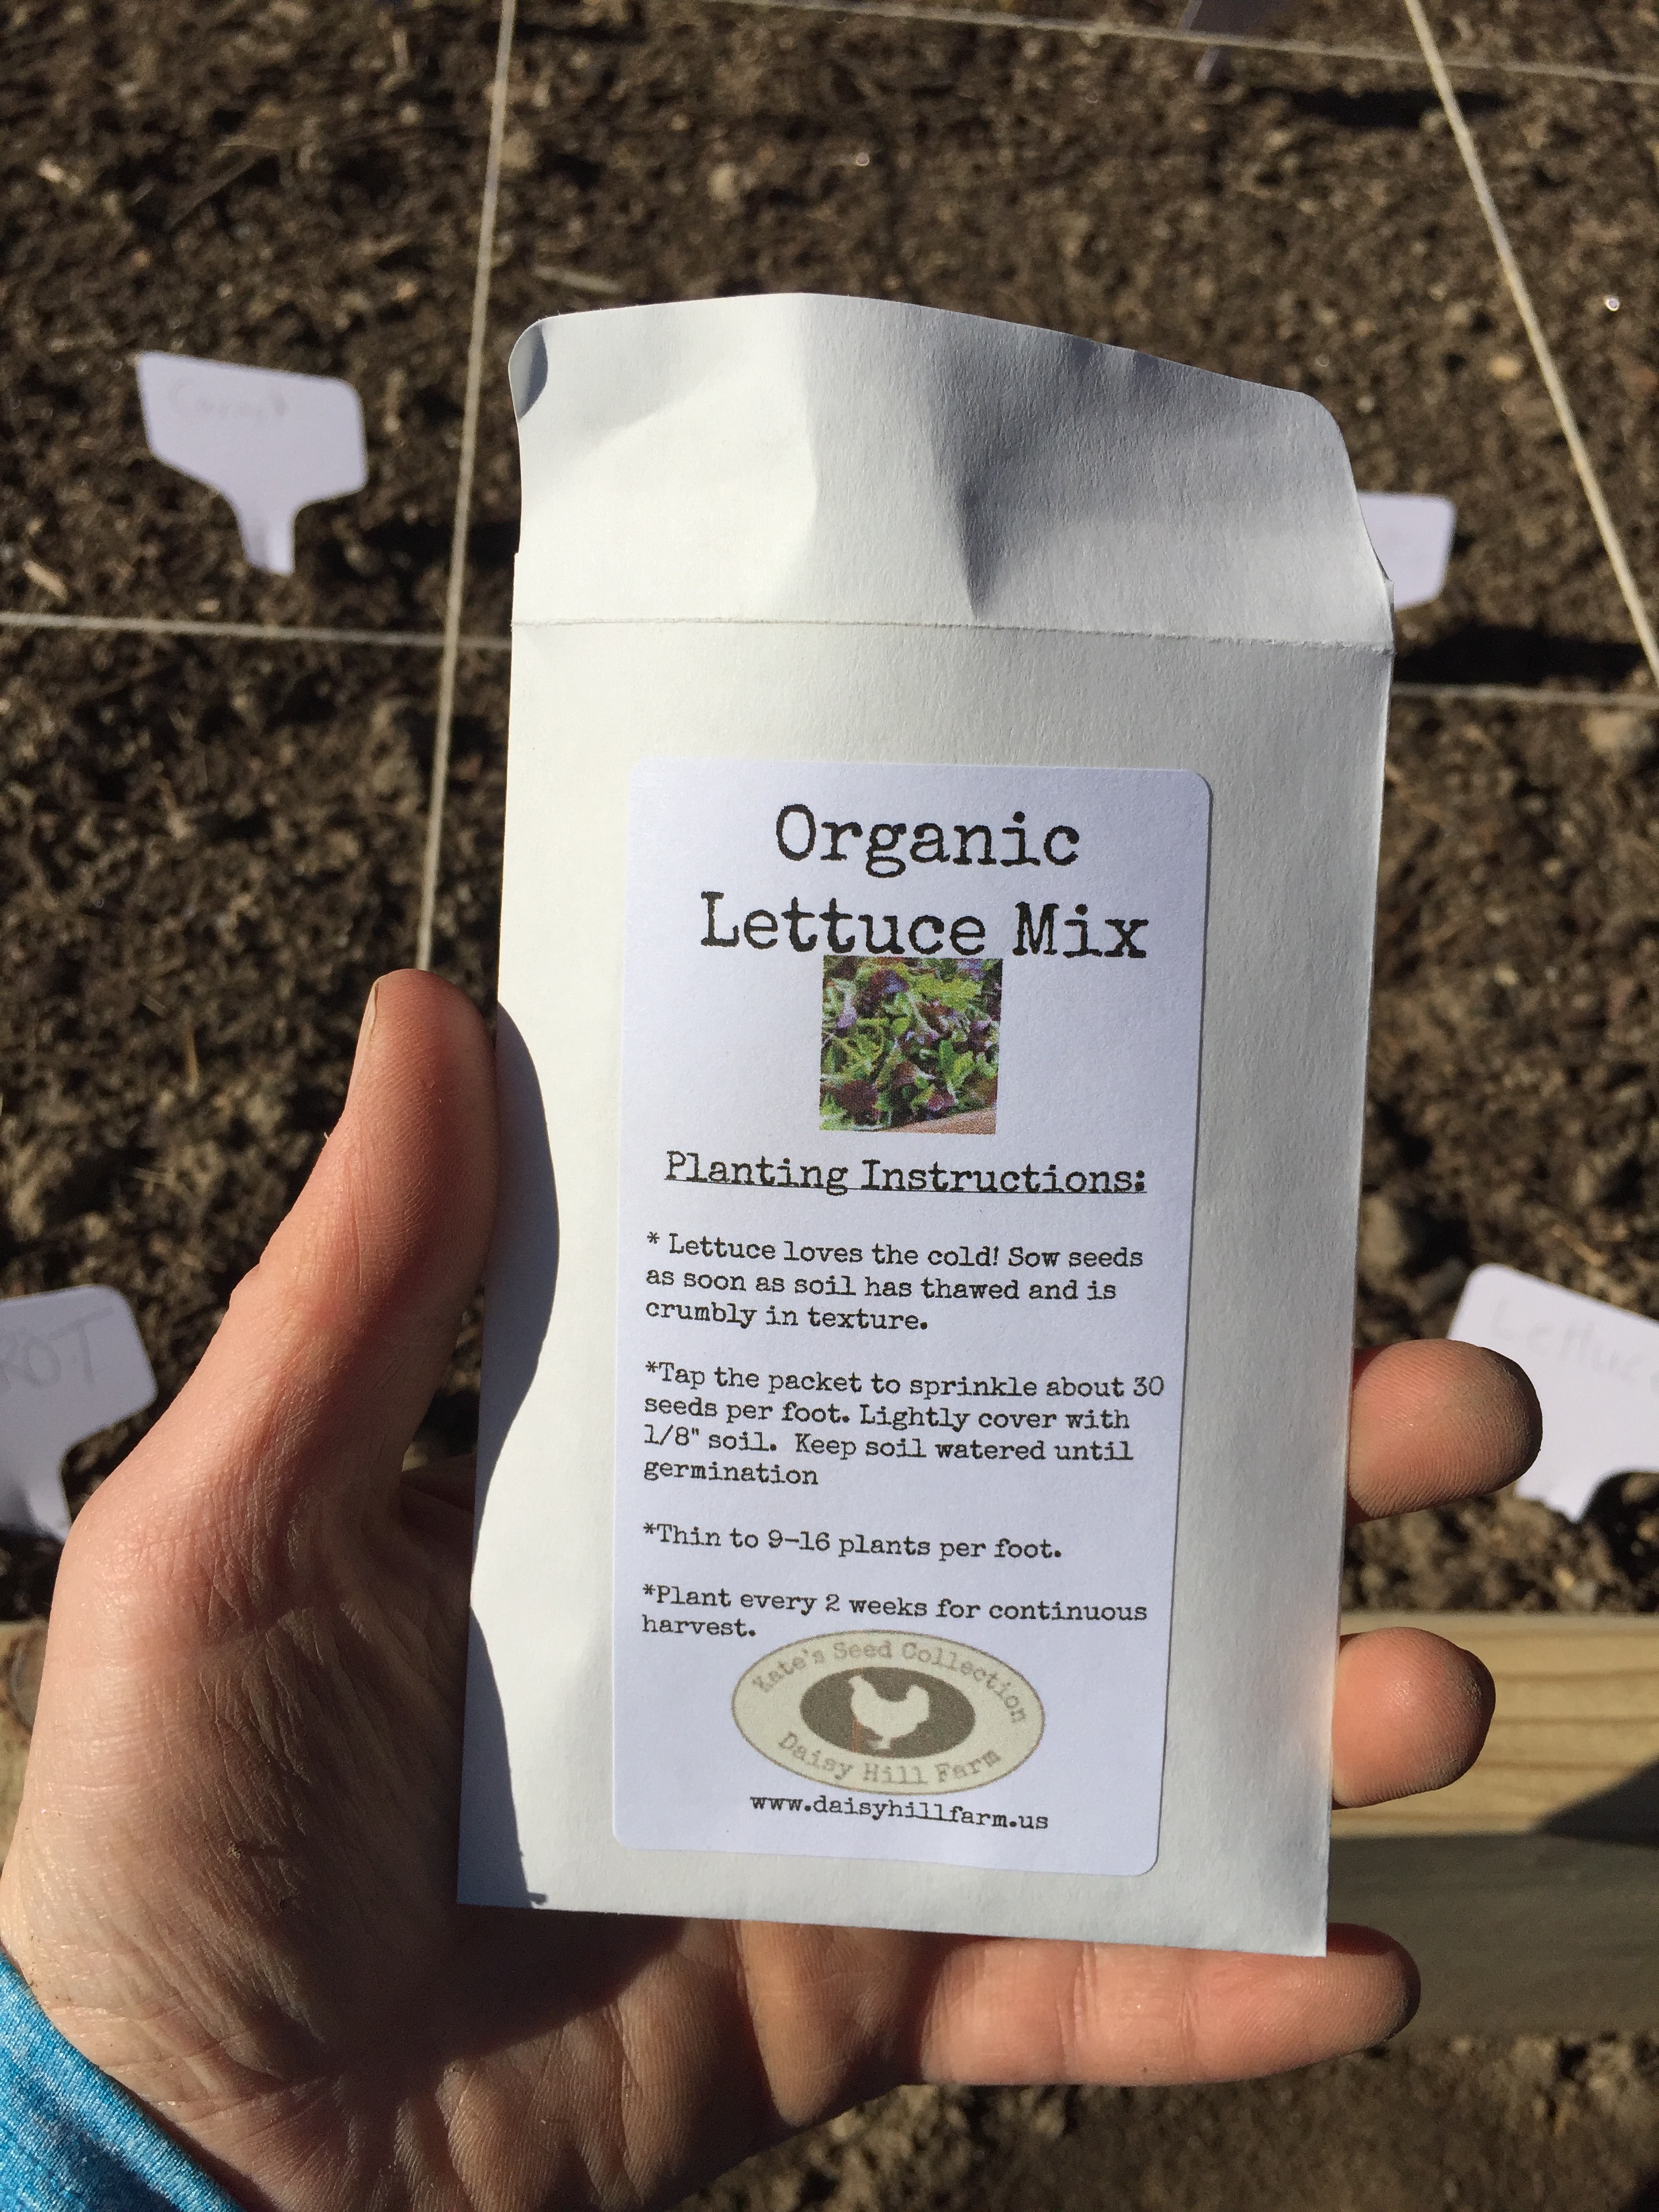
11. Plant Seeds: Follow the instructions on the seed packet.
12. Water Regularly: Soil must be kept from drying out between the time of planting seeds to when the plants have their first few leaves. This is the most sensitive time for plants. On warmer sunny days, this may mean 2 applications of water a day. Keep the soil moist but not soaking wet. Once the plants are a few inches taller, the soil top inch of soil can dry out a bit more between waterings and believe it or not, this can be good for the plants.
 Water soil, not the leaves of the plant!
-
13. Enjoy your plants!!!


Loved your blog!! Very useful one. Will try for sure 🙂 Thanks!!
LikeLike
Thanks! Let me know if you have any questions.
LikeLike
What a helpful post. I love the emphasis on drainage. It baffles me when people plant their plants with zero drainage. Definitely a pet peeve!
LikeLiked by 1 person
Thanks!
LikeLike