
Hello! Well, the warmth of vacation has worn off and it is back to the reality of winter here in Massachusetts. Cold and snowing, in case you were wondering. However, there were a few days last week that felt like spring, and those days were AMAZING! The temperature was in the 50’s, the sun was out, and the chickens were even able to find some grass when the snow melted away. Spring is on its way….

A bit of a change from the last post- I’ve awarded both positive and negative points for each learning event. After all, there are always multiple ways to interpret things. In case you missed that first post, check it out here.
As I finish reflecting on the second half of 2018, I am getting REALLY EXCITED about the coming year! Seeds orders are coming in, I am finalizing planting maps, and setting up order sheets and market dates for the spring. Yay!
July
1.Do not plant pole beans in the greenhouse- they will create a jungle-like maze!

It was such an exciting summer to begin testing the bounds of greenhouse growing. I planted beans, both bush and pole, in the house in hopes of some early harvests. Well, I got the early harvest…and then got a nearly impenetrable jungle of vines. The pole beans loved the light and heat and space so much that they grew all the way up-10 feet high- and then kept going and going and going. This prolific growth is terrific outside where there is more space, but in the confines of the greenhouse, it was too much. I ended up having to use a ladder in order to reach the highest beans every day.
+5 for harvesting beans earlier in the warmth of the tunnel. -5 for continuing to let the pole beans grow into August even though they were shading out the cucumbers next to them.
2. Groundhogs WILL find the only possible gap in the fence, eat your beautiful soybeans, and leave you wondering when and where they will strike next.

I didn’t leave the farm much last summer, save for a few weekends in July-August. While we were away on a mini-vacation in July, exploring the seashore and eating midday ice cream, a sneaky groundhog beast was raiding our farm. Tricky giant rat. He mowed down soy seedlings, munched a bunch of broccoli and kale and haunted my dreams for weeks afterwards.
+10 for groundhog proofing 350′ of perimeter fencing. -10 for not fencing under the ramp. This is so not my first time at the groundhog rodeo.
August
3. Dogs help with chipmunk problems! Want to harvest strawberries? Get a dog!

Okay, so we don’t yet have a dog of our own, but we do love taking care of Chester, a serious border collie who belongs to our friends. Lucky for us, they travel for a few weeks every summer and we get to dog sit! Not every dog is as great as Chester- he is the best companion farm dog. He keeps me on my toes all day by “offering” to play ball with me, or stick, or chase the flowerpot (although that is a game he rather likes on his own…). He does not let me get bored and as a bonus to adding many games to the day, he also chases squirrels, chipmunks and yes, wait for it….. groundhogs.
Here’s the thing. I have been trying to securely net strawberries for over a decade. I had great success here the first year, but I think I inadvertently helped the nearby chipmunk population explode with so many tasty treats the first season. Chipmunks love strawberries and will do almost anything to get them. I use a combination of hoops, deer netting, 2 x 4’s, rocks, giant garden staples, etc. and they still manage to get into the fortified beds. It wasn’t until Chester came that we were able to harvest enough berries both for our family and the CSA.
And so, we have decided to get a dog. Not for companionship. Not to teach the kids responsibility (ha!). Nope. The reason we are going to get a dog is so that it can keep the chipmunks away from strawberries. Totally worth it.
+20 points for being very smart future pet owners -7.5 for not yet engineering the perfect chipmunk-proof raised bed.
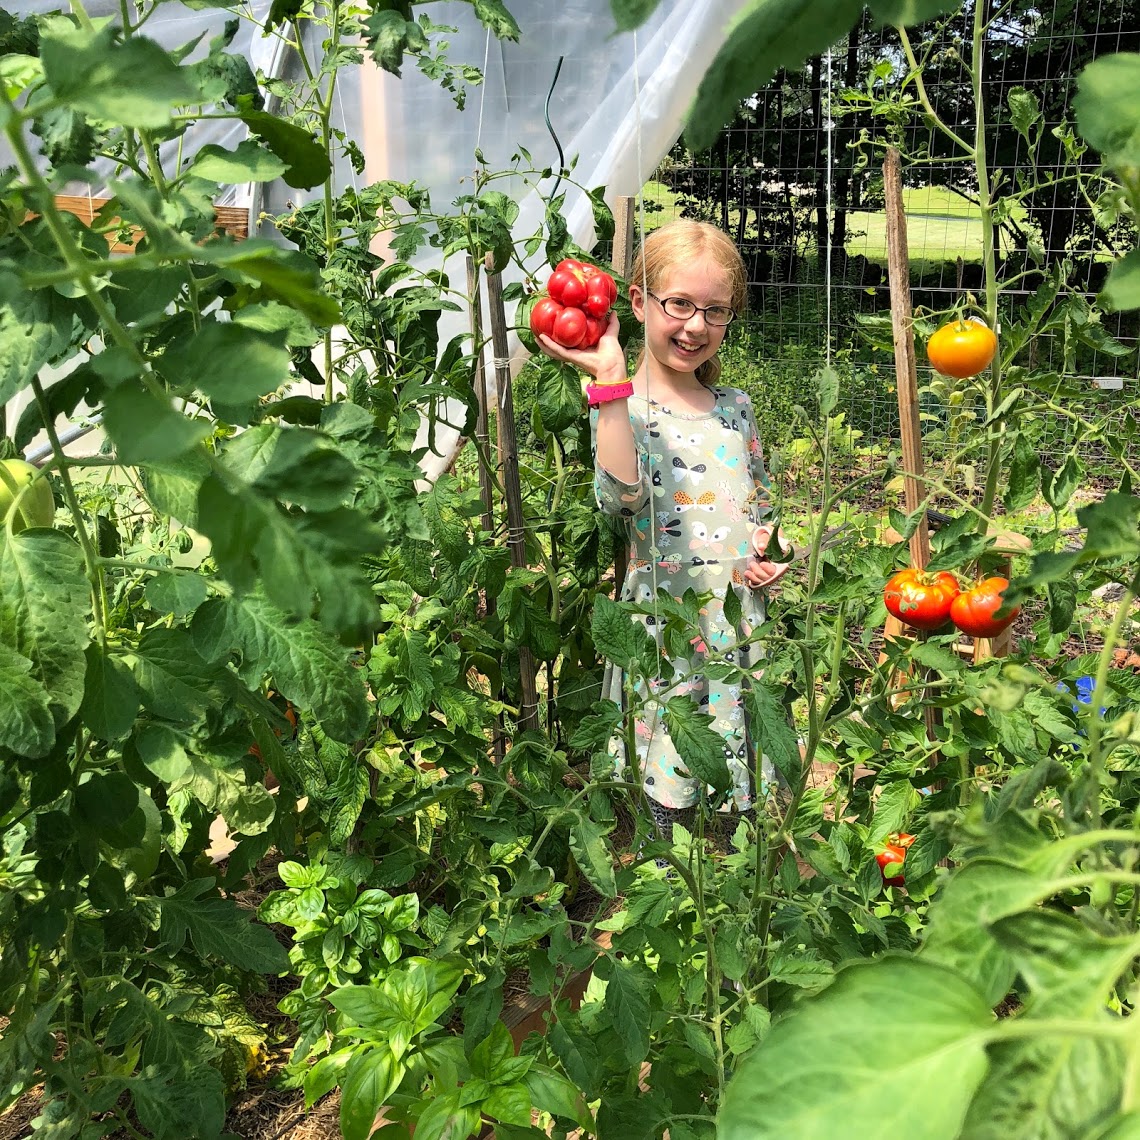
4. Want to have beautiful ripe peppers in New England? Grow them in a plastic tunnel!

What can I say? The high tunnels are are EXCELLENT for eggplant, peppers and tomatoes! Amazing!
+10 for summer high tunnel growing success! Hard to find a negative for this one. I loved those peppers.
September
5. Unmanaged apple trees may not produce the quantity/quality of apples you were hoping for in your apple-filled dreams.

Sometimes, when there is so much work to do, and not enough time or energy (or people) to get it done, you let some stuff slide. 2018 was the year of fruit tree neglect. No pruning, no special organic fruit tree pest deterrents and no special tree food. And so, every single peach was stolen from be the peach trees (squirrels, I think) and most apple blossoms didn’t blossom because of caterpillars. BUT….we did get ONE apple, our first and only. It was full of spots, had a bite (a squirrel bite) out of the side, but I ate it anyway, and it was great.
This year I am committed to following Michael Phillip’s organic orchard regime, and I just got gallons of fun stuff in the mail to help with that goal. My husband remarked that my excitement over 5-gallon buckets of fish and kelp fertilizer is a bit unusual. Maybe that’s true, but have you seen the stuff?
-5 for fruit tree neglect in 2018. +12.3 for renewed hope and excitement about the home orchard!
6. Grow vertically!

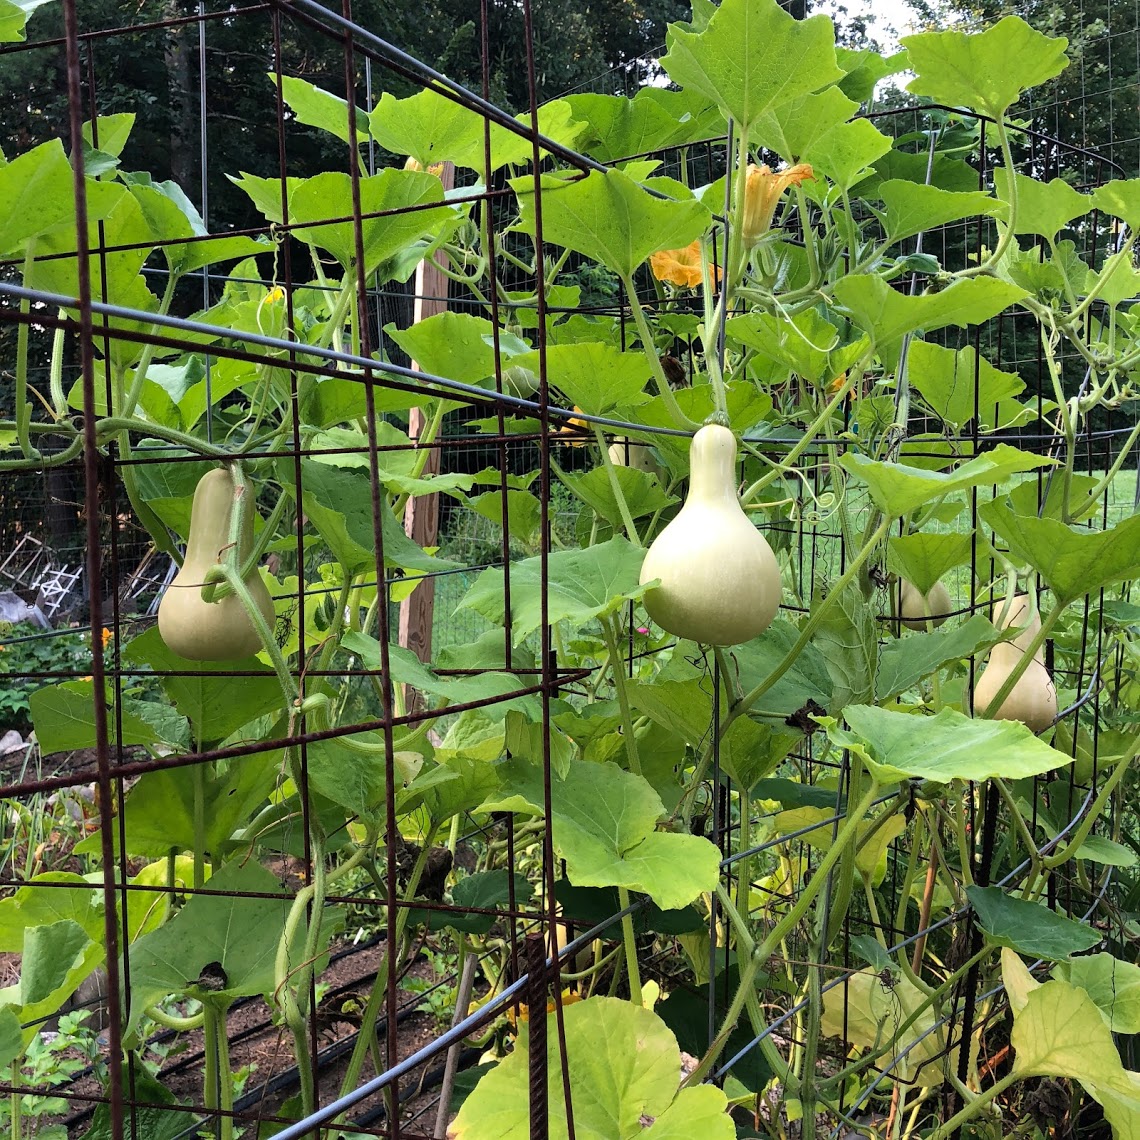
This feels a bit like cheating because growing vertically is not something that I just learned, but it definitely bears mentioning. AND this was the first year that I grew vertically in the high tunnels. I also loved growing veggies on tunnels that spanned the space between the beds- the tunnels covered the walking paths to take advantage of the in-between space. This worked well for gourds, pumpkins, beans and tomatoes. I definitely will do more of this in the upcoming season.
+5 making use of limited space by growing UP. -2 for using previous knowledge.
October
7. Check potatoes every few weeks to make sure there are no surprise nests in the bed. Because surprise nests mean fewer potatoes. Sad face.

Wow! Check out that impressive burrow and nest we found while harvesting our late season potato crop. Not only did we provide the creature(s) a happy home in the dirt, but also the nesting material (straw mulch) and the food (potatoes). Next year I plan to move the mulch away and inspect the potato beds on a more regular basis, especially later in the season when animals are preparing for winter.
8. Want large, mature cabbage heads? Give them space to grow.
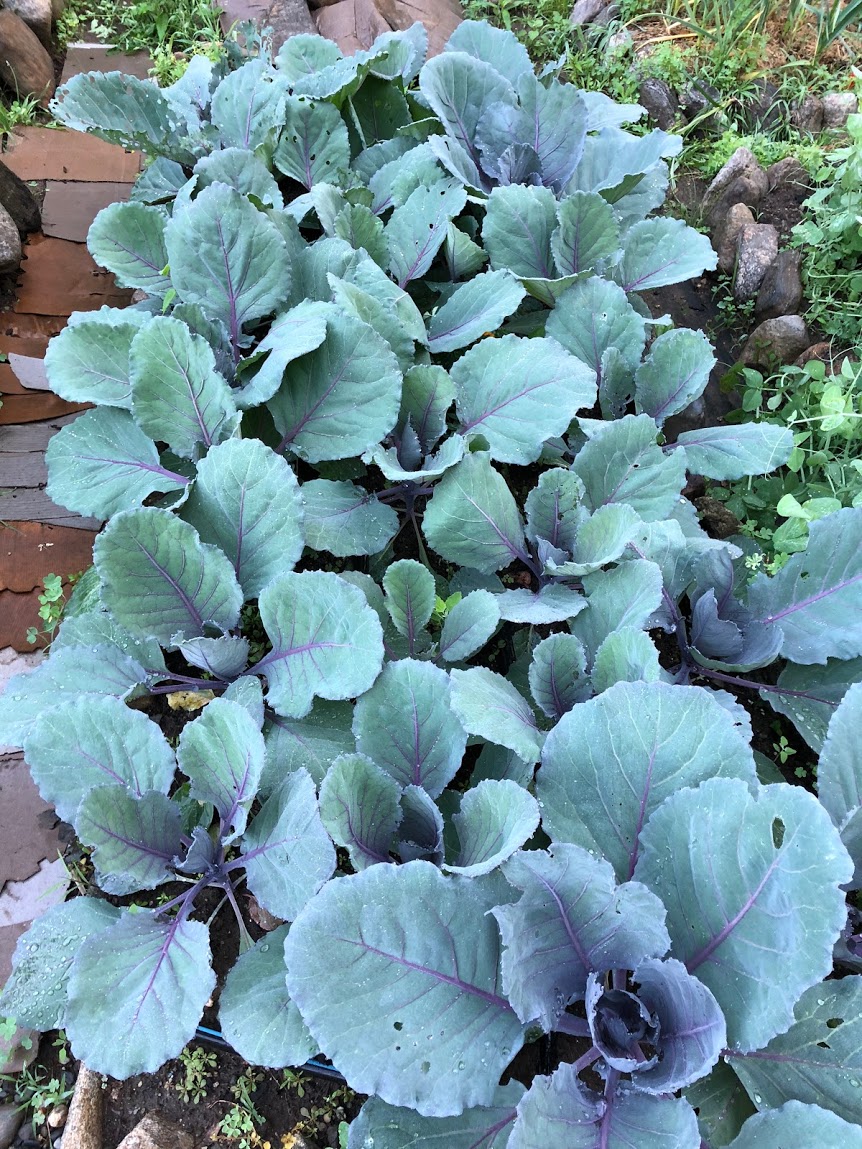

I started the cabbage inside in the early spring and planted it outside in the late spring, but spaced the heads too close. Totally fine if you want small cabbage heads, not awesome when your plan calls for beautiful huge cabbages! So, again, learning curve. Next season, the cabbages will have some space to spread out.
+5 for keeping cabbage relatively pest free all season -5 for smothering them, all they needed was some space to be teenagers and learn the ropes for themselves (wait, I thought we were talking about cabbage…)
November
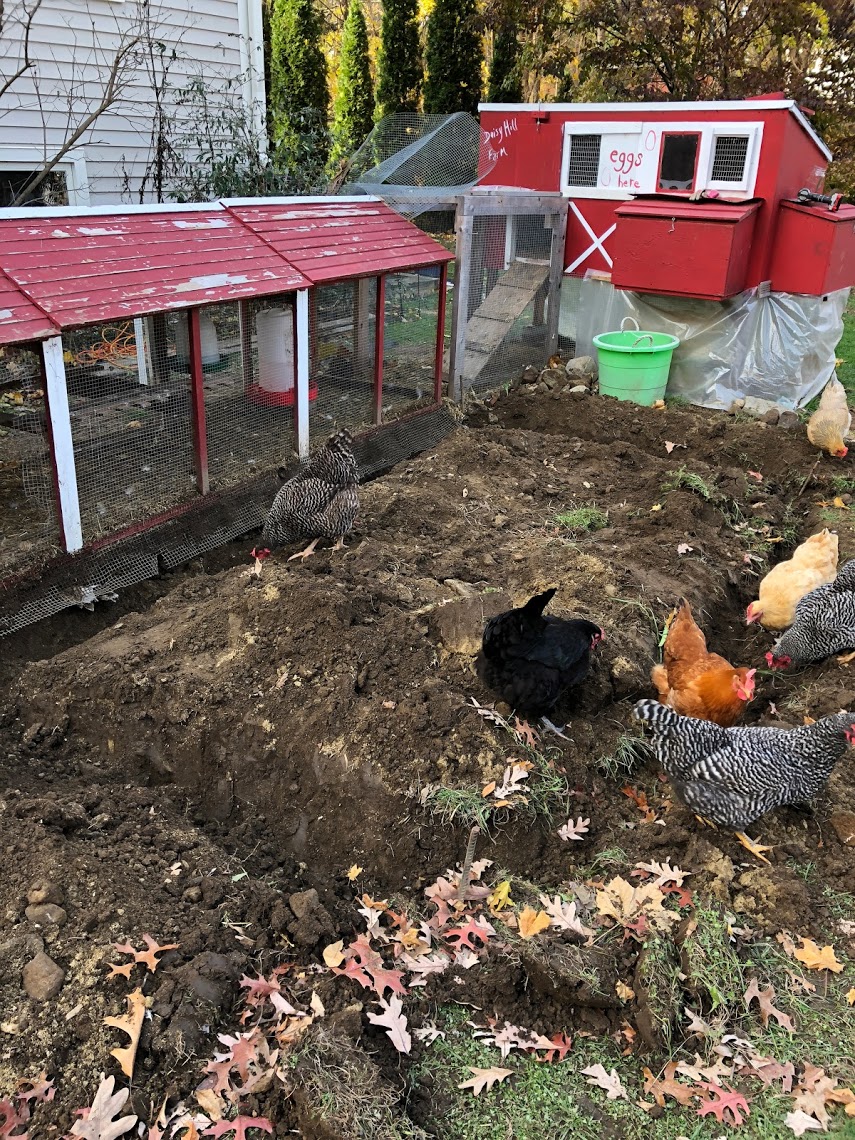
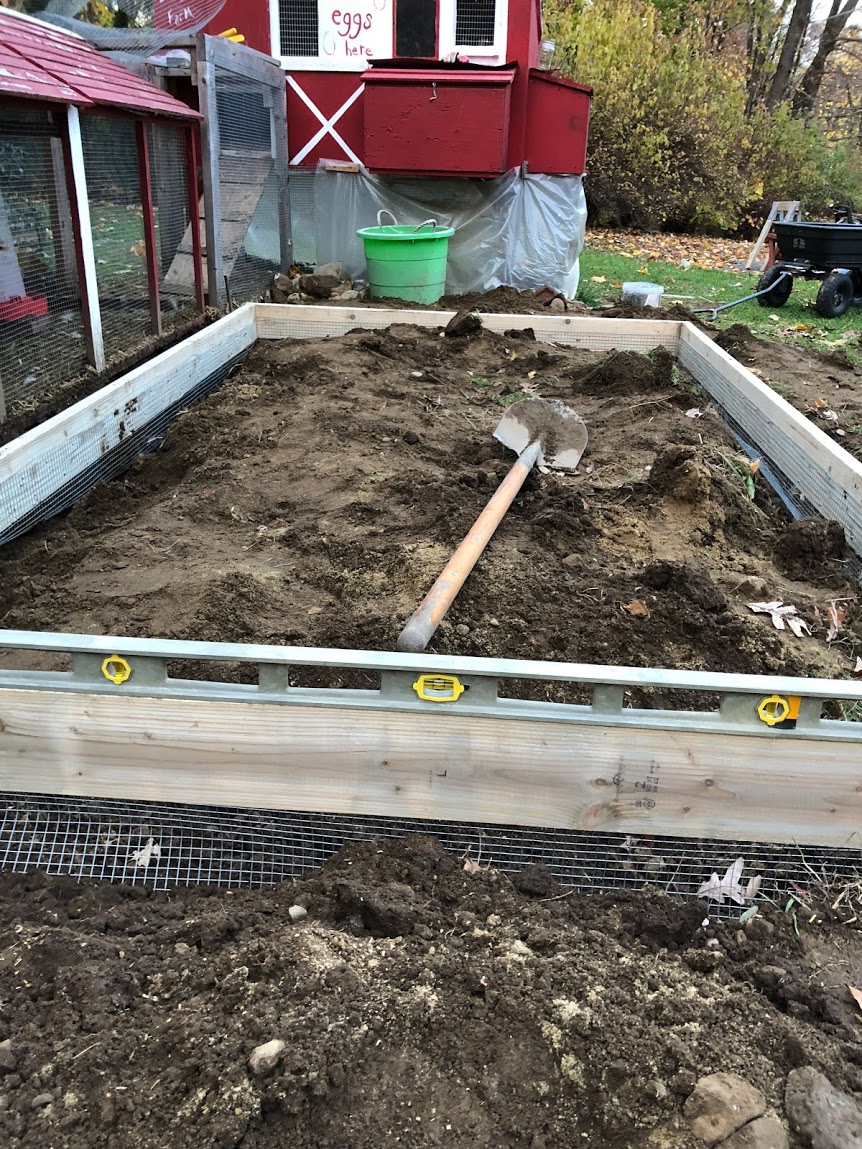
9. Continually assess, question, observe and use that knowledge to make improvements: Build a better chicken run.
November-December seem to be the best time for improving/building farm infrastructure. The active growing season has has finished, but there is still some time to work outside before the ground freezes and snow arrives. Three years ago we built the farm area, two years ago was the first walk-in tunnel. One year ago it was the two high tunnels and this year, a new chicken run.
We have now been chicken keepers for 3 years, and the learning curve has been steep. When we got our first chickens, I ordered kits for the coop and run because I wasn’t quite sure how to build them (nor was there time that first year). The coop worked well enough for about a year, but then pull-out door rusted and stopped fitting, the latches on the egg boxes broke and the perches broke. The run is still sturdy, but the doors jam, it leaks and is difficult to clean.
And so, a year ago we started the upgrades. In November of 2017 we purchased a much larger coop from Randy at Wood Craft Cedar. He was great to work with and I really like the new coop; it is big enough to fit our larger flock, it is strong, and it is easy to clean.
I figured this year (November 2018) I would try my hand at building a walk-in run that would incorporate several features: large enough to walk in for easy cleaning, high enough for multiple roosting bars and hanging food/ water containers. Leak-proof roof and double hung door so that chickens don’t escape every time you change water and refill food.
Aside from the tunnels, I haven’t built actual structures, so this was new! I considered actually learning how to frame, but went a different route. I started with a 6 x 10′ base and built 2′ and 3′ wide individual panels for the walls, attached with walls, and then put on a roof. One of the most important parts was digging the trench and setting the base in place before the ground froze, proud to say that I made it with one day to spare!


+20 for using what I have learned about poorly constructed runs to make improvements to this one. -4 for not building it a year ago.
10. Chickens can be great uniters or great destroyers. If you have grubs, expect the latter.

So, I guess we have a lot of grubs on the hill pictured above. I know this because the chickens were obsessed with digging out the grass and finding them in the top couple of inches of soil. While I intend to terrace this area with low-lying perennials and herbs, I was not ready YET to take out the grass. But, the chickens dug it all up anyway. Even after like 200 time outs. Naughty chickens.
+ 5 to the chickens for eating bad grubs that would eat my veggie plant roots. -5 for digging up grass and not correcting behavior after time outs.
December
11. Voles are evil. Don’t trust their cute furry faces, they will destroy your perfect carrot bed while your are busy building a new chicken run.

I finally planted carrots at the right time of year so they would be fully grown and supersweet for the perfect winter harvest! They went into the bed that held the garlic until mid-July, so it must have been early August when I planted them. They were covered with a row cover, and later in the season, plastic and I thought they were safe, just waiting to picked at the right time. Sadly, I was wrong.
On a 40 degree day in mid December, I lifted the plastic and row cover to find utter destruction. Not one carrot remained, I was so disappointed. I didn’t recognize the damage pattern- the holes in the soil were larger than mouse and chipmunk holes and there was was white fur spread around. Hmm, maybe a skunk? I waited and watched and *may* have poked around with a stick.
And then, movement. I HUGE mouse-thing with a short tale. Looked it up and identified it as a vole. I know I heard from many a grower that 2018 was a particularly bad year for chipmunks, squirrels, moles and voles. I hadn’t realized I too, had voles. I thought I was special. Nope, just like David McCoullough says, “you are not special”.
+5 for finally planting carrots early enough for a beautiful winter harvest. -5 for dismissing early vole signs in November and not eating even one carrot from that beautiful winter harvest.
12. Plant kale at the right time for a sweet overwintered spring crop.
How fitting that the last image of both these 2018 posts is kale.

Last year, the kale did not fare so well in the tunnels. I planted most of it too late, I killed some by “watering” with snow and planted a less hardy variety. Well, learned from all three of those mistakes. this year, I transplanted red russian kale as soon as I removed the tomatoes from the bed in October. The plants had time to grow new roots and get strong enough to live through the coldest of cold days. Like many things these days, the plants are coming out of hibernation and are starting to grow again! Hooray!
+42 for learning from mistakes and trying again. I gave myself bonus points here for finally finishing this post!
If you haven’t seen the first part of the post, check it out.


Hi Kate! It sounds like it has been a pretty good year overall, despite the voles.
I too have felt the sadness of vole voraciousness in my home garden. Eventually, I learned a few things that helped a lot:
Don’t mulch with leaves. Voles love living in leaves.
Clear away bushes, weeds and trees that hide them from hawks and other predators.
When desperate, set snap traps in their runs under a plastic nursery pot. Even more effective but also sad, is to put poison bait in PVC bait stations in their runs, especially during the winter and early spring as they are looking for stuff to eat; it cuts down on their population. For bait station plans and info see https://pdfs.semanticscholar.org/c1f8/4710a2d6c6fe4d5cc175f91cc3d393aa0936.pdf
Hope that’s not too much unsolicited advice! Probably you know already.
Enjoy the off season!
LikeLike
Hi Susan! It was a great year- I hope yours was too! I do use snap traps, but haven’t caught many voles. I will try placing them under flower pots- good idea! Normally I don’t mulch with leaves, but I realized there were tons of leaves in the picture of the carrot bed. Likely because I had the tunnel open during the leaf fall during the fall and left them there- won’t do that again! I don’t want to use bait, but I do welcome any and all advice–thanks! And please come visit!
LikeLike